Valheim First-Day Shelter: Build a Working Home Before Exploring Farther
Your first Valheim shelter only needs to work: a protected crafting area, a claimed bed, warmth, cooking and somewhere to put supplies. You can rebuild it into a grand hall later. This guide covers unmodded early progression with ordinary survival settings, reviewed October 18, 2026 against the current official 1.0.20 context and the community wiki. World modifiers can change difficulty and recovery rules. Follow the HUD’s shelter and interaction messages instead of assuming that a structure which looks enclosed meets every requirement.
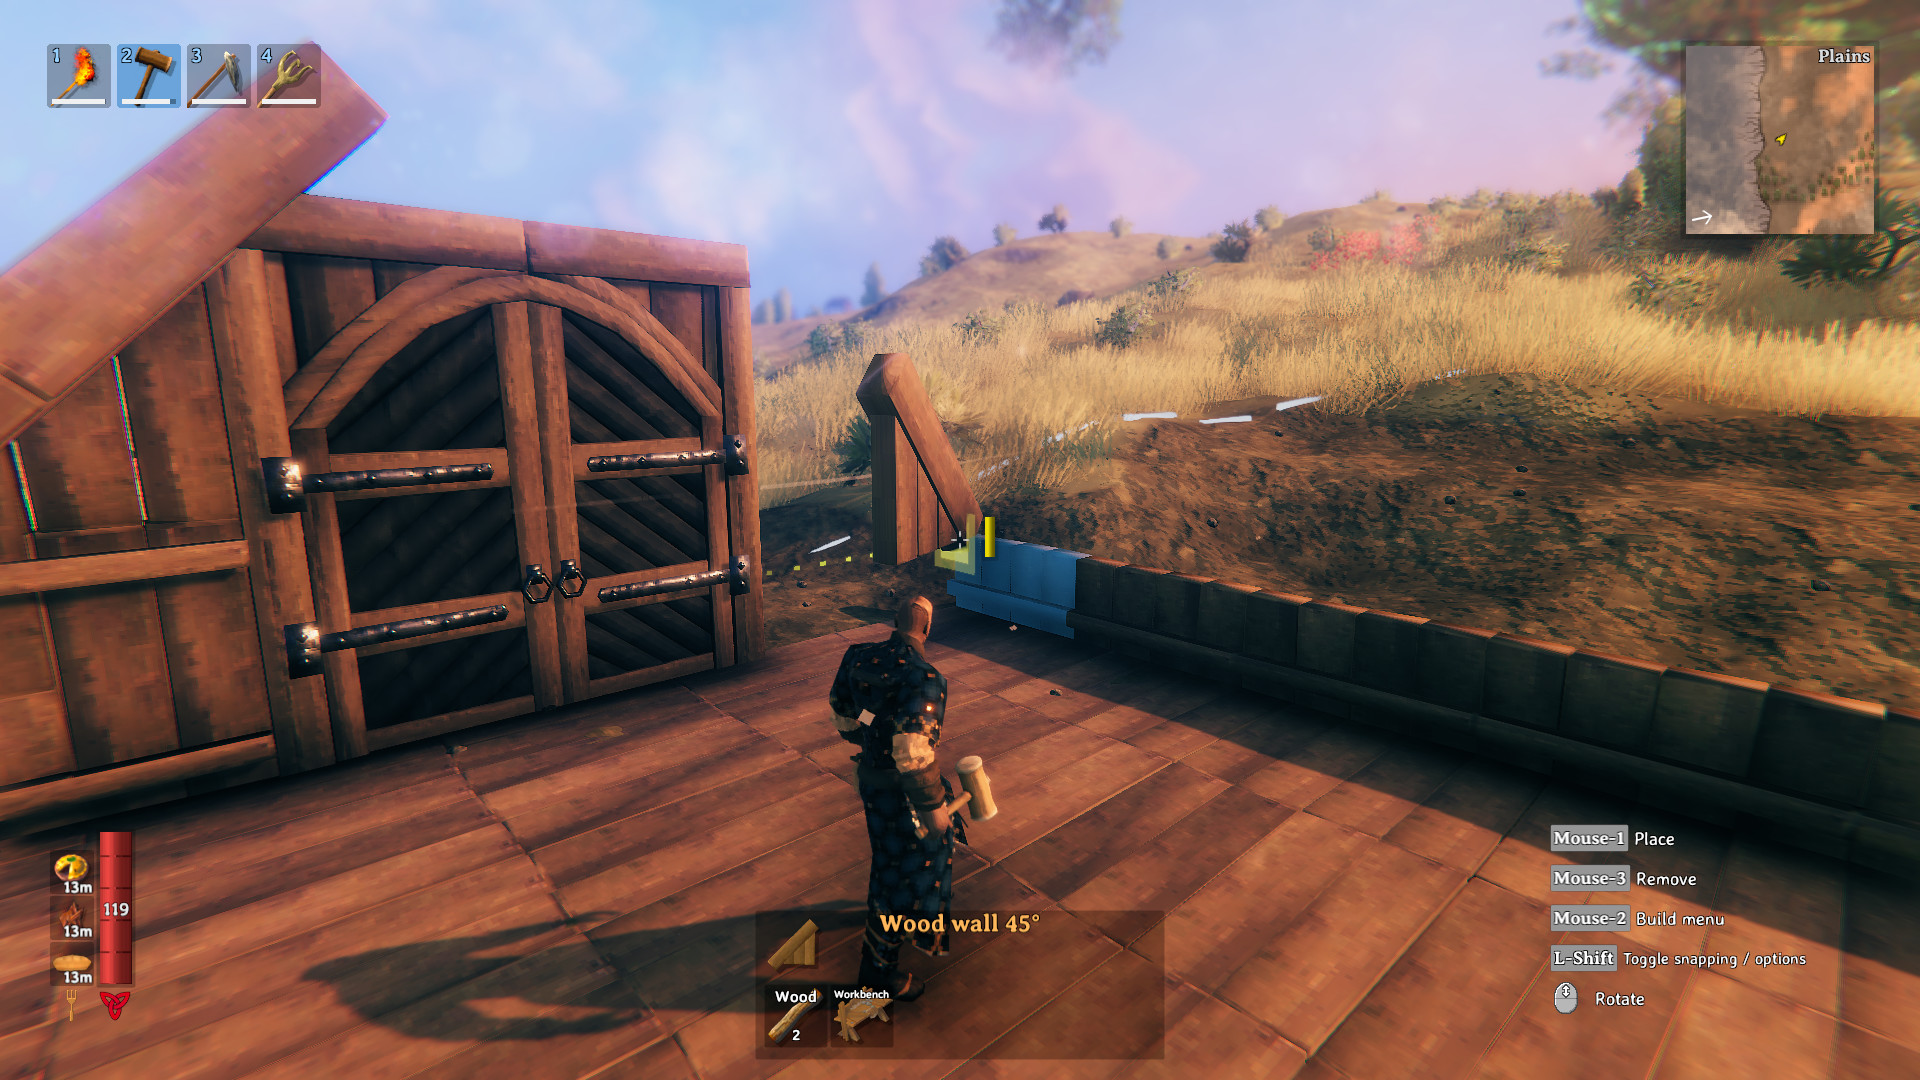
Official game screenshot · Coffee Stain Publishing. Publisher-provided public store media used to illustrate independent editorial discussion. Copyright remains with the respective rights holders; no redistribution license is offered.
Stay in the Meadows while gathering the basics
Pick up loose branches and stones, then craft the basic tools available from your inventory. A stone axe provides an early way to gather wood, while a hammer opens the building menu. Collect edible mushrooms and raspberries as you notice them, and avoid turning the opening trip into an unprepared march into another biome. Read Hugin’s introductory messages rather than ignoring them all. Choose an accessible patch of Meadows with nearby wood and room to expand. A shoreline can be useful later, but do not spend the whole first day hunting for a perfect permanent settlement.
Build a small frame instead of a huge unfinished house
Place the workbench, then build a compact shelter with walls, a proper roof and an entrance you can find in darkness. A few functioning pieces are more useful than a large floor with no covered crafting area. Check the building piece’s placement and support indicators while adding the roof. Avoid balancing a tall unsupported extension over the first sleeping area. If you adapt an abandoned building, inspect and repair it instead of assuming every existing piece is ready. Keep enough clear interior space to reach the workbench and bed without climbing over other objects.
Make the workbench usable for crafting and repair
A placed workbench enables nearby construction, but crafting and repairs need sufficient cover. If the interface says it is too exposed, add the missing roof or wall protection and try again. A flat floor over your head is not a substitute for every roof requirement. The community wiki describes a compact repair shack as a useful solution: rear and side protection with roof pieces over the station. Once accessible, repair tools through the station’s repair control. Repairing is distinct from upgrading; basic repairs do not consume the crafting materials needed for an upgrade.
Place warmth without filling the room with smoke
An early campfire needs fuel and a location where its smoke can escape. Putting it under a very low sealed ceiling can harm the character and stop the fire from working. Leave a clear vertical path or suitable vent above it while protecting it from rain. Heat can reach the bed through a wall, so an adjacent protected fire can be simpler than squeezing it into the sleeping corner. Test the actual result by waiting inside while it burns. If smoke accumulates where you stand, change the opening rather than deciding the small visual gap must be enough.
Claim the bed and distinguish claiming from sleeping
Place a bed within the shelter and use its interaction to claim it. Check the displayed owner and spawn status rather than assuming construction alone selected it. Sleeping has additional conditions such as a nearby fire, suitable time and no immediate enemy disturbance. If sleep is unavailable, read the message and correct that condition. Do not destroy your only claimed bed while decorating unless you are ready to establish another. The practical purpose is a nearby return point so an early accident does not turn into a long run from the starting stones.
Cook and store a small reserve
Build the available early cooking setup and cook suitable meat you have obtained. Watch the cooking cue and remove the finished food instead of leaving it unattended until it burns. Eat different available foods before hunting or fighting; food changes your usable health and stamina rather than merely satisfying a conventional hunger meter. Put spare food, wood, stone and a basic recovery kit in storage. Carrying the entire material supply on every short trip makes a death harder to recover from and fills the inventory with things you did not need away from home.
Check the shelter as a whole
Refuel the fire, repair the tools, confirm bed ownership and wait until the Rested effect appears. Walk around the interior to make sure the roof, smoke route and working stations still behave as intended. Add a map marker for the home if the world uses a map. Keep the entrance and nearby approach clear enough that you can return under pressure. A house can look finished and still fail because the fire goes out in rain, the workbench is exposed or a new roof beam blocks the vent. Test functionality before spending another load of wood on decoration.
Leave with one short exploration goal
Take food, usable tools and enough inventory space for the next need, then explore a small loop that returns before the kit or food is exhausted. Collect flint near suitable water edges, leather scraps from boars or deer materials as your equipment allows. Do not chase a fleeing animal far into unfamiliar danger while the home remains barely functional. If you die, eat from the stored reserve and prepare the recovery rather than running back hungry immediately. A simple reliable house is successful when it supports several useful trips, not when it resembles a screenshot of a late-game castle.
Your working checklist
Checkmarks stay in this browser when storage is available. They do not alter your game or connect to your account.
Put it into practice
- Gather in Meadows, craft basic tools and select an accessible small site.
- Build walls and a proper roof, then confirm the workbench functions.
- Place a rain-protected ventilated fire, claim a bed and cook food.
- Repair, rest, store reserves and test the whole shelter before exploring.
Before you finish
- A placed workbench can allow building while still being too exposed for repair.
- A claimed bed and a sleep-ready bed are related but different checks.
- Do not seal the fire’s smoke route while finishing the roof.
Common questions
Do I need a large first house?
No. A compact functional shelter supplies crafting, recovery and a return point while using fewer early materials.
Why can I build near the workbench but not repair?
The station can enable construction without meeting the cover requirements for crafting and repair. Read the exposure message.
Why is my fire harming me indoors?
Smoke may be accumulating. Provide a suitable escape route and test it while the fire is actually burning.